Sub-Campaigns
This feature allows you to take advantage of an active user and maximize their experience, and your revenue! If you send an offer and a subscriber clicks, you can schedule a similar offer as quickly as 0 minutes, or longer. To use this feature, follow the instructions below:
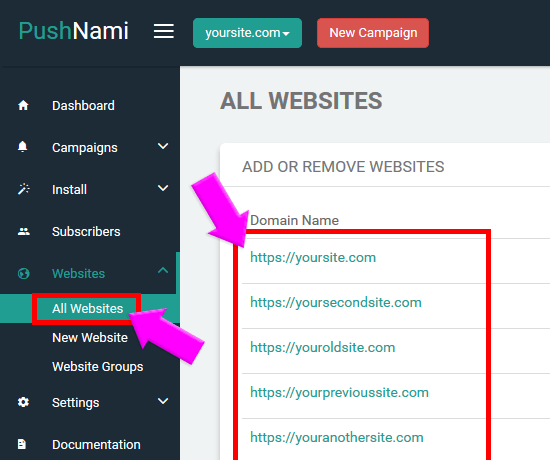
Click on the website you would like to add the sub-campaign to.
This will open where you initially set up your website. From here you will see the Sub-Campaign option under “Website Option”. Click on the word “false”
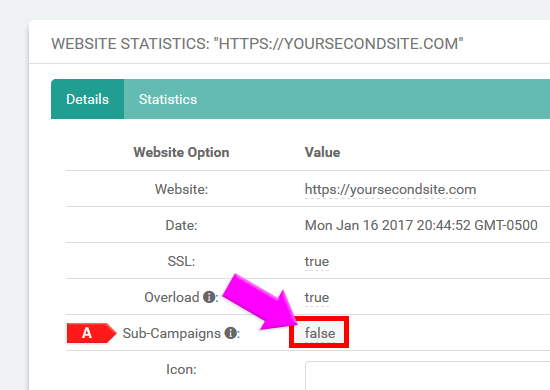
Once you click on “false” you will have an option to enable Sub-Campaigns. Click the empty box and then “confirm”. You have just enabled the Sub-Campaign.

To Create the Sub-Campaign:
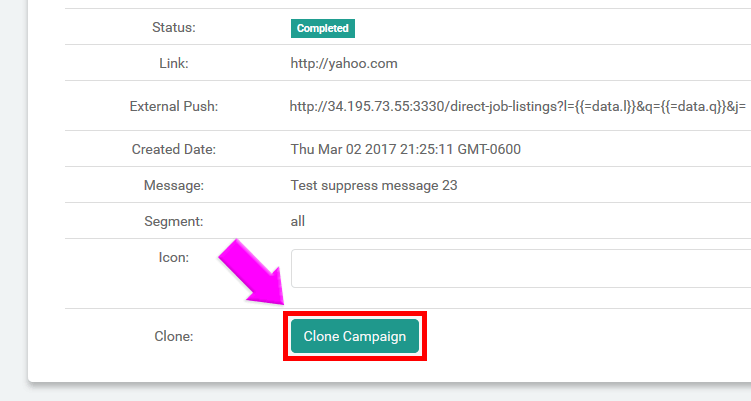
Choose the campaign you would like to add a Sub-Campaign to, click to open that campaign. Then, click “Clone Campaign” at the bottom of the page.
Once the next page opens scroll to the bottom, to “Click Sub-Campaign”, choose “Enable”.

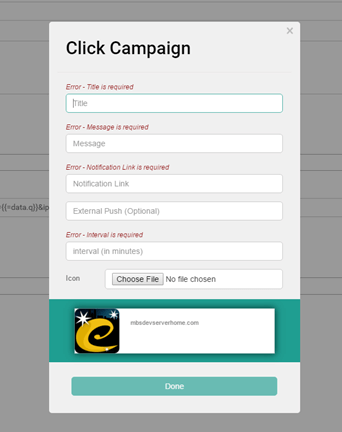
Once you click “Enable” another button will appear that says, “Create Campaign”. Click that button. You will see a pop up titled “Click Campaign”. Fill in the required fields and then click “Done”.
Congrats! You have now created your new Sub-Campaign!
“If” Statements:
More enhanced targeting of your subscriber list is now available! This is best used when you want to send a message out to all your subscribers but you’d like to segment those who have purchased/converted verses whose who have not. To use this feature, follow the instructions below.
From your Dashboard click “New Campaign” on the top of the page. This brings you to a familiar screen, “New Campaign”.
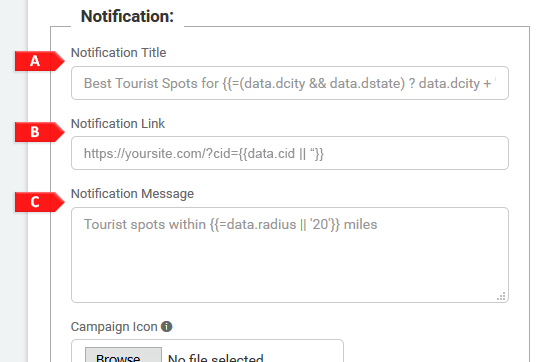
Below are some examples to reference:
- You can include a statement like this for your Notification Title:
{{=(data.atype==”A”)? “Title for A”: “Title for B”}}
This should have a corresponding link and message to ensure messaging is correct for the recipients. For Example:
- Include a statement like this:
{{=(data.atype==”a”)?”Message for A”: “Message for B”}}