Creating a Waterfall
First, choose the website you want to add the waterfall from the dropdown at the top of the Dashboard.
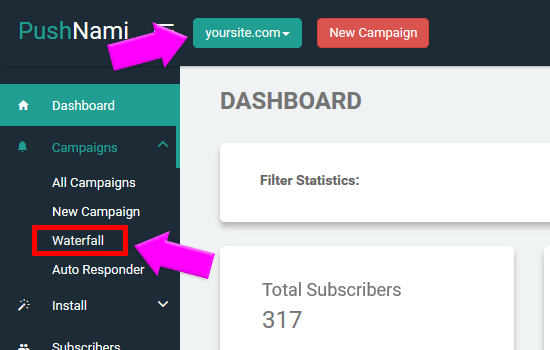
On the left hand side of the Dashboard, click on “Campaigns”, then click on “Waterfall” within that drop down.
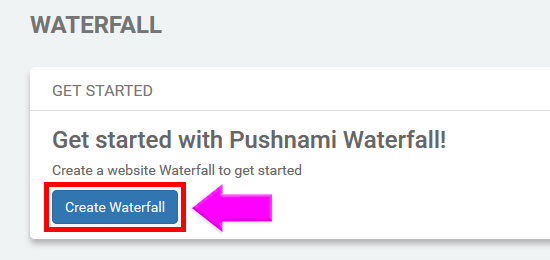
This will bring you to the Waterfall page. To start a waterfall click, “Create Waterfall.”
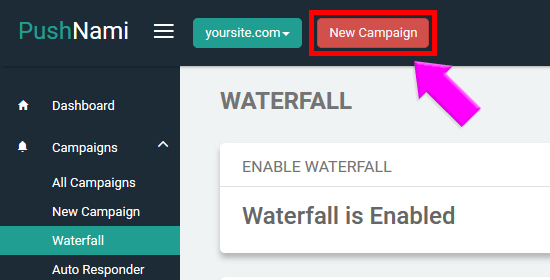
To start adding your campaigns click the red button on the top of the screen that says, “New Campaign”. You will do this each time you add a campaign to your waterfall.
New Campaign will bring you to the Details page.

Fill out the “Notification Title”, this will appear as the first set of words on your push notification.
“Notification Link”, this is the site that the push notification will be directed to.
And the “Notification Message”, the message will appear second in your push notification.
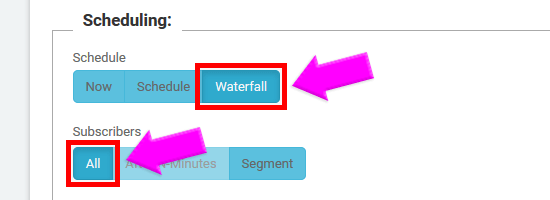
- In the “Schedule” section choose “Waterfall”.
Under “Subscribers” you will leave that on the default “All”.
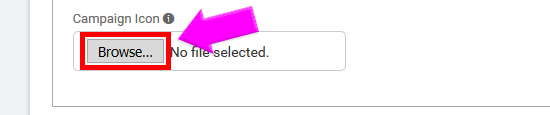
Finally, you can choose the image you would like to appear on the push notification by clicking “Choose File” under the Campaign Icon section.
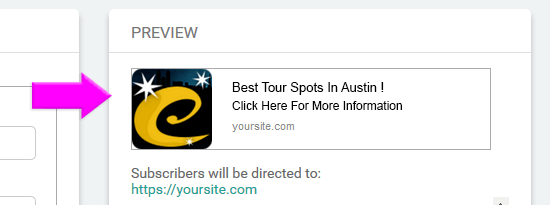
On the right side of the Details page you have a Preview pane. Check the preview in the upper right corner.
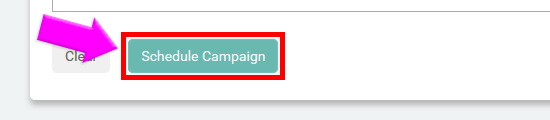
Once it looks complete you can click “Schedule Campaign” at the bottom on the page this will add the campaign into the Waterfall.
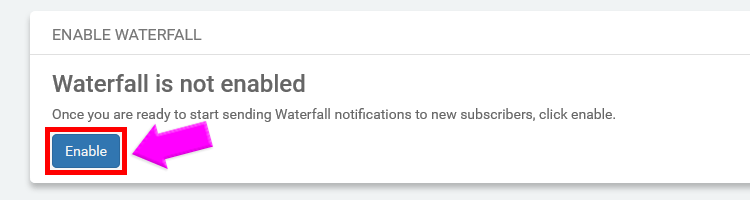
Once you are done with scheduling your waterfall make sure that you then click “Enable”.