Installing Pushnami Code To Your Website
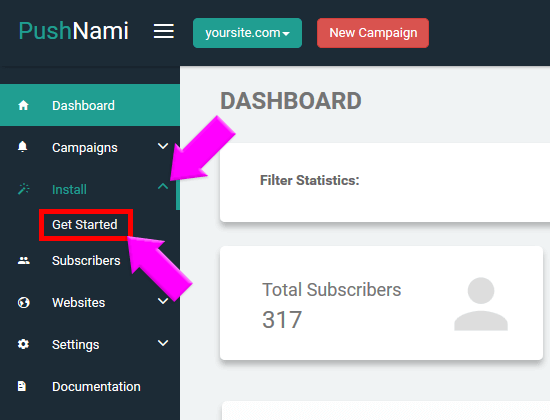
On the left side of your Dashboard you will see a menu, click on “Install” and then choose “Get Started”.
For SSL you will see the following steps:
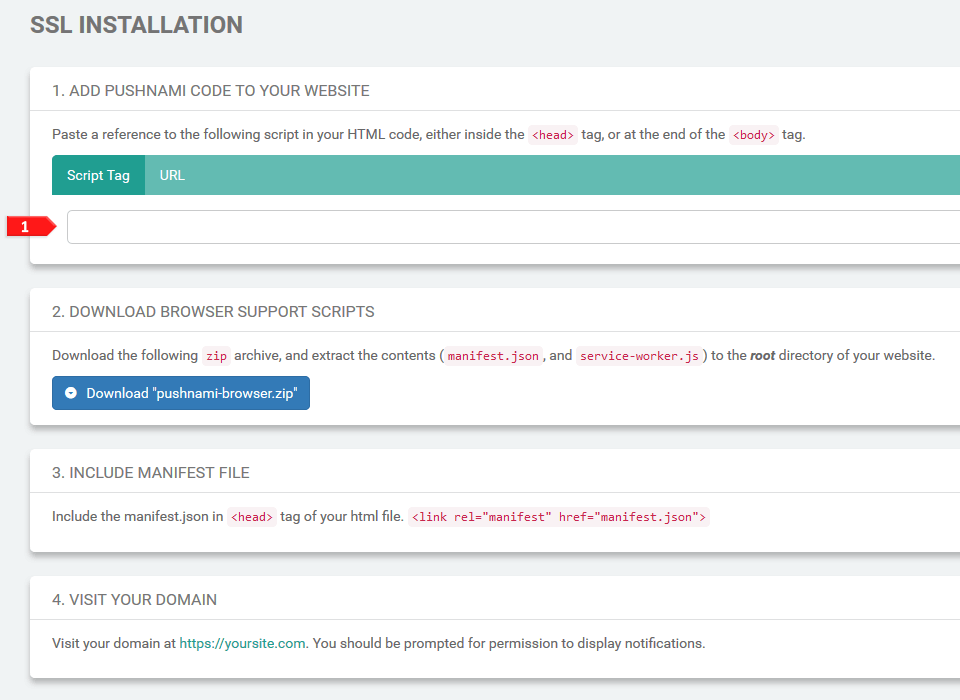
- A javascript will be provided for you, install this script to your SSL site.
For Non-SSL you will see the following steps:
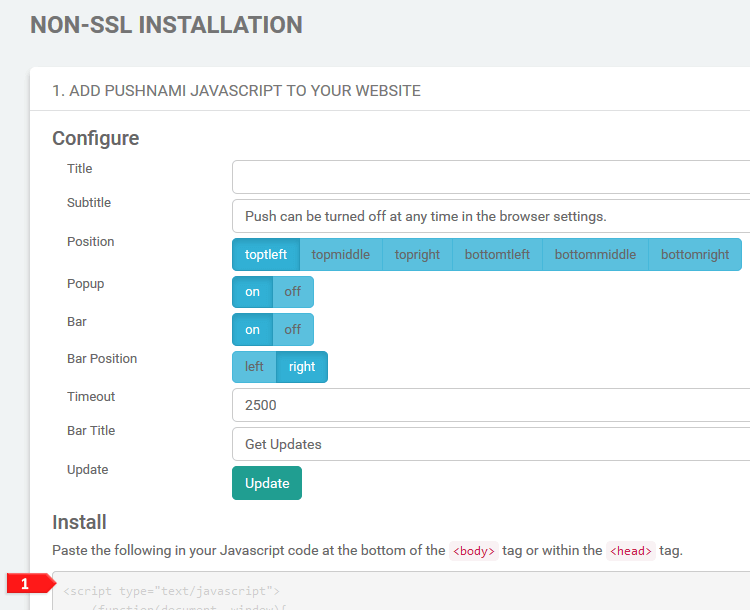
- A javascript will be provided for you, install this script to your non-SSL site.
For Wordpress installation you can select either the SSL or non-SSL page instructions depending on preference. We do not currently have a public WordPress add-on.
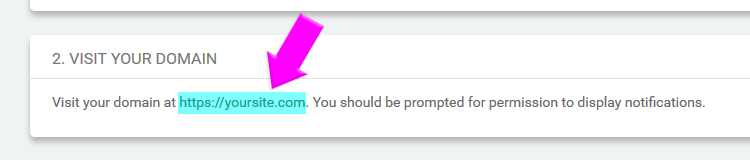
Once you have completed the installation of the code to your site, verify that it was installed properly. The best way to verify is to visit the site and ensure that the permissions pop-up is shown. You can also try subscribing and ensuring that the statistics in the Dashboard reflect the new subscriber.
To show a subscription box on only particular pages of a website make sure to use the following scripts:
For SSL: Every page with the script component added will be push enabled.
<script src="https://api.pushnami.com/scripts/v1/push/..."></script>For Non-SSL: Every page with the script component added will be push enabled.
 <script type="text/javascript">
 * function(document, window){
 (var script = document.createElement("script");
 (script.type = "text/javascript";
 (script.src = "https://api.pushnami.com/scripts/v1/pushnami-3/...";
 (document.getElementsByTagName("head")[0].appendChild(script);
 (})(document, window);
 </script>